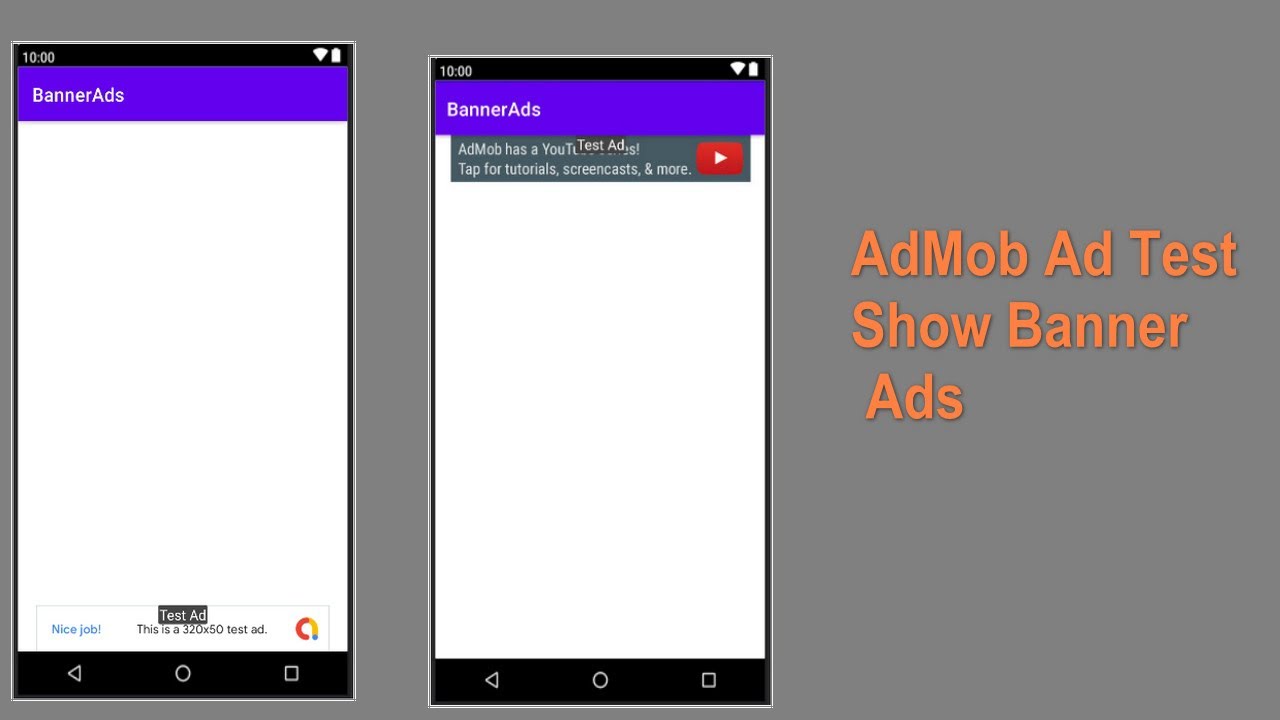
Google’s Android Studio is a great tool for creating Android apps, but it can be a little daunting for those new to the platform. In this article, we’ll take a look at how to use AdMob banner ads in your Android Studio projects.
AdMob is a Google-owned ad network that allows you to place ads in your Android apps. Banner ads are a type of ad that appears at the top or bottom of the screen, and can be either static or animated.
Before we get started, you’ll need to create a new project in Android Studio and add the AdMob SDK to your app. You can find instructions on how to do this in the AdMob documentation.
Once you’ve done that, you can add a banner ad to your app by creating a new layout file and adding the following code:
Replace YOUR_ADMOB_BANNER_AD_UNIT_ID with your actual AdMob banner ad unit ID. You can find this ID in your AdMob account settings.
To display the banner ad in your app, you’ll need to add the following code to your activity’s onCreate() method:
@Override public void onCreate(Bundle savedInstanceState) { super.onCreate(savedInstanceState); setContentView(R.layout.
If you want to learn more about using AdMob in your Android apps, check out Google’s documentation or this helpful tutorial from Vogella


